Pegs and Jokers Game Plans
$14.99
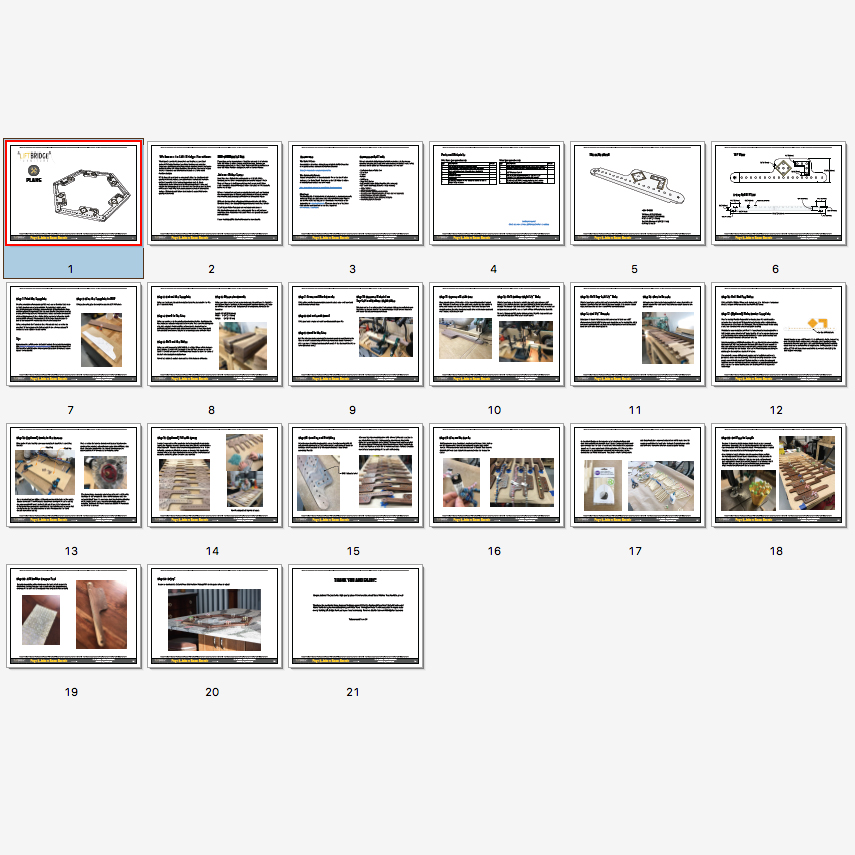
These plans are delivered as a .pdf download which can be viewed on any computer or mobile device. The plans include 21 highly detailed pages with diagrams and step-by-step instructions that are very easy to follow for the average woodworker and they contain BOTH Metric and Imperial measurements. The plans also includes:
- A Board Template pdf file
- A Router Template pdf file to route in the diamond and “L” shaped recesses
- The Sketchup file
These are high quality plans. Please see below for more details.
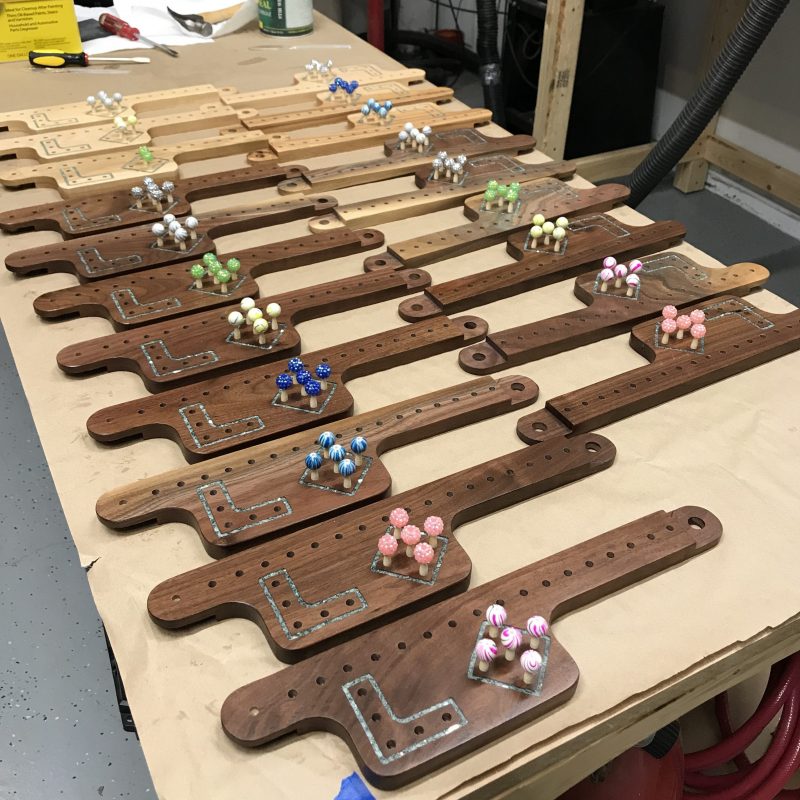
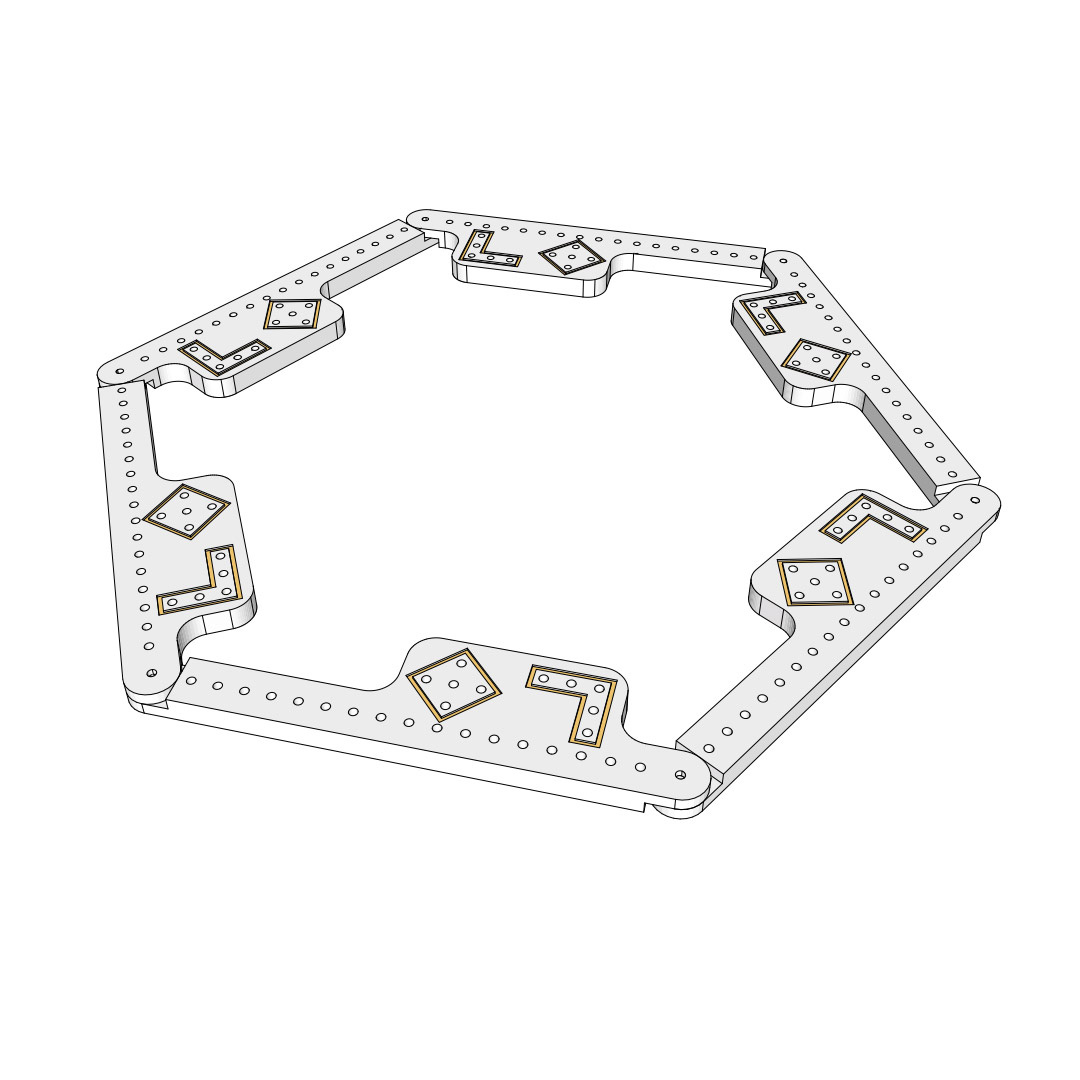
Pegs and Jokers is an addicting and fast-paced board game that’s similar to the game Sorry® but much more fun! It’s played with anywhere from 2 to 10 players that will leave your friends and family entertained for hours. Each player has a board that interlocks with the player’s board sitting next to them. The objective is to move all five pegs, clockwise around the boards, from your HOME area (the diamond), to your SAFE area (the “L” shape). The first team or individual to have all of their pegs in the SAFE area wins the game.
For more info and pictures of these boards, check out this blog article.
Custom Pegs
The plans also include details on how to make custom high-end pegs like the ones pictured for the very best Premium Pegs and Jokers board sets.
How to Play Pegs and Jokers
Pegs and Jokers is very easy to learn. View the game rules and learn how to play Pegs and Jokers by clicking this link.
| License Type | PERSONAL USE ONLY. Commercial use is available by joining our Maker Team and selling through liftbridgefurniture.com. |
|---|---|
| Delivery Method | Plans are delivered via a download link in your email. The download link will be emailed after the order is placed. An actual desk is NOT included. |
| Included Files | The download is a zip file that contains the following files: – The main .pdf file which can be viewed in your browser or Adobe Acrobat |
| Measurements | Both Imperial and Metric are included in the plans |
| Designer | Tommy Tompkins (not game designer, just the designer of this particular board and plans) |
5 reviews for Pegs and Jokers Game Plans
Only logged in customers who have purchased this product may leave a review.
Related products
Woodworking Plans
Woodworking Plans
Woodworking Plans
Board Games
Board Games
Woodworking Plans
Woodworking Plans








galger (verified owner) –
I purchased the plans for the Pegs and Jokers game. The templates were almost perfect – except for the router templates which were too close to the holes in the diamond- shaped Start and L-shaped Finish areas. The instructions which accompanied the plans were clearly written. On the whole, the step-by-step directions were clear and easy to follow.
I ordered the plans in early winter and spent many workshop hours producing the templates and prototypes. I do have an oscillating spindle sander and a band saw (which I think are essential to undertaking this project). I used curly red oak to make my boards (because I had it in stock. Not the best choice). Walnut or cherry would be a much easier and more eye-appealing choice. That much said, the pieces require many, many operations and are very time-intensive (especially it you have planer tears which are common with curly oak). I cut out around forty-five blanks. (If you are going to this much work you had better do a lot of them.) Some of the blanks had planer and drilling tears while a few of them had some small worm holes. These became my prototypes/test pieces. I routered the start and finish areas using a 1/16″ router bit about 1/16″ deep. I had to open up the templates a fair amount to accommodate the 13/64″ bamboo skewers I used to mount my beads on. I cut them 1¼” long with garden sheers and ground one end of each to a fine point while rounding off the bottom edges. I used 12mm disco ball shamballa beads to make my markers (they are really cheap on Ebay) but you have to drill a 1/8″ hole in the bottom of each in order to accept the sharpened point of your skewer stick. Glue the sticks to the ball with Crazy Glue. I filled the router indentations with Borden’s Glitter Glue (about 3 or 4 applications) – silver for start and gold for finish.
After finishing the good ones with 3 coats of varnish (the imperfect ones with tears with wood filler and white enamel paint) I applied the glitter glue. The glitter glue along with the disco glitter balls looks really funky. I counter-sunk all the holes and sanded off the rough edges on the bottom of each marker to help the markers to glide in and out of the holes with no fuss.
I then applied 4 soft silicone pads to the back of each so they don’t move around the table during play.
I made 2 sets of eight boards and three sets of six. I built boxes from 12mm Baltic birch plywood with box joint corners to house the sets These boxes house the boards, six or eight sets of markers, Three to four decks of cards and game rules.
Overall, the plans are very good, the instructions are clear. They require a lot of hours to make (not a weekend special). The game is very strategic and tons of fun to play. Go for it (if you have the time and patience).
Daniel VanDyke (verified owner) –
Great plans. Very clear. Several projects in one actually because there is a fantastic video on Youtube by Tommy for making a jig for drilling the holes with even spacing. https://www.youtube.com/watch?v=33NlXyYfbuE&t=237s
The other very helpful tip in this video is to use a flush router bit to make all your boards exact duplicates. Much easier than trying to sand to the line uniformly. Very fun project, but yes, quite a bit of time.
Christopher Savage (verified owner) –
Very good plans and video instructions. I have just finished making my first set and when I make another I may tweak a couple of things just to suit the way that I have set up my jigs etc.
Very pleased with the result and I think that the next one will be even better.
Very pleased and well worth the money.
Dale Seaman (verified owner) –
Made my first set and instructions are great! I also had issue with the router template being too close to holes.
Elaine Baker (verified owner) –
Great plans
Very fun game